Blend Frend Tutorial

Step 1
Preparation
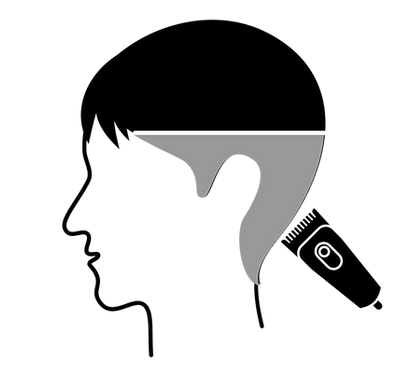
Cut around the head with a Grade 1 (3mm) clipper size and remove the hair below the line, leaving a visible line around the head (approximately an inch above the ears).
For best results there needs to be enough hair above the line for you to blend into, this length should be between grade 4 (10mm) and grade 8 (25mm).
Make sure your line is straight and at equal heights around the head, to ensure this you can add guide markers at each side of the head and at the back, then simply join them up.
Remove all of the hair from below your line before you begin to blend the hair using the Blend Frend, keeping everything neat and tidy will give best results.

Step 2
Where the magic happens
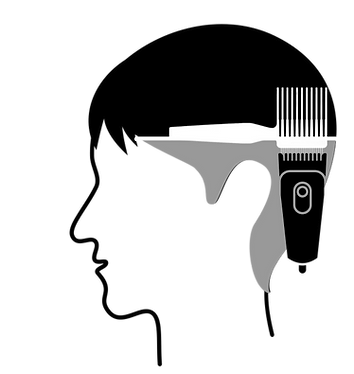
Comb up to the line so the base of the Blend Frend lines up with the line thats around the head.
Remove all the hair that is coming through the Blend Frend - You must ensure all of the hair is removed (especially near the base of the Blend Frend) to ensure there are no lines or patches left.
Make sure when you are combing up the head you do not tilt the Blend Frend.
An easy way to ensure this is by having the small bottom comb in contact with the head, this will stop any tilting of the Blend Frend, ensuring the same angle throughout and a perfect blend.
You will need to go around the head several times to make sure all of the hair is removed to create the perfect blend.
You can use the small bottom comb to brush the hair that you are blending back in to place before you comb up the head with the Blend Frend.
Make sure the hair clipper you are using to remove the excess hair is set to zero, this can be achieved on most hair clippers by removing any guards and by closing any adjustable levers.

Step 3
Finishing touches
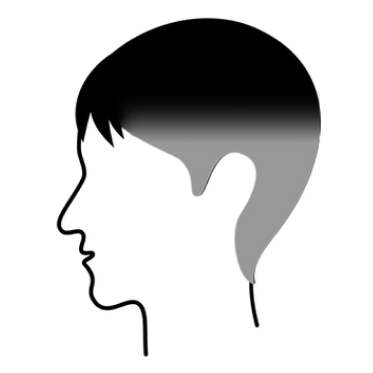
Continue to work your way around the head until the initial line is faded out and completely blended in.
Try not to focus in one area on your first pass around the head, it is better to work around the head several times.
Ensure that you remove all of the excess hair above the Blend Frend, especially at the base where you created the original line. All excess hair
above the comb must be removed to create the perfect blend and to remove the initial line that you created.
If you can see any imperfections in the blend it is because you have not removed all of the excess hair that comes through the Blend Frend, simply repeat step 2 until this is resolved.
If you can still see a slight line this may also be due to you not meeting the initial line with the bottom of the Blend Frend, this will result in you missing hairs that need to be cut (usually when you have not combed high enough to meet the initial line). Simply comb up the head again and remove any excess hairs that come through the Blend Frend.
Buzz Cut Tutorial
Fading made easy with the Blend Frend
This will require some skill as you are creating a fade below the grade 1 line, many of you have asked for a video on this to show how to do a shorter cut than a grade 1 (3mm), but do not attempt if you are not confident in fading.
